Updated Jun 24, 2026
Follow this step-by-step guide to make your own cross-stitch ornaments this year.
With the holidays right around the corner, it’s time to start decorating the Christmas Tree! If you’re looking for a way to spice up your tree this Christmas, why not make your own ornaments? I promise you even if you’re not the best with a needle and thread, cross-stitch can be surprisingly relaxing. Don’t worry too much about your finished product being perfect; it’s the thought behind it that counts. Handmade decorations come from the heart and add a spark of warmth to your Christmas tree.
This is a great group activity. Cross-stitch can take forever, so sitting together with your friends or unit can be both entertaining and enriching. Bond by helping each other prepare their embroidery floss and telling fun stories. Just keep an eye out for any furry friends - cats love embroidery floss.
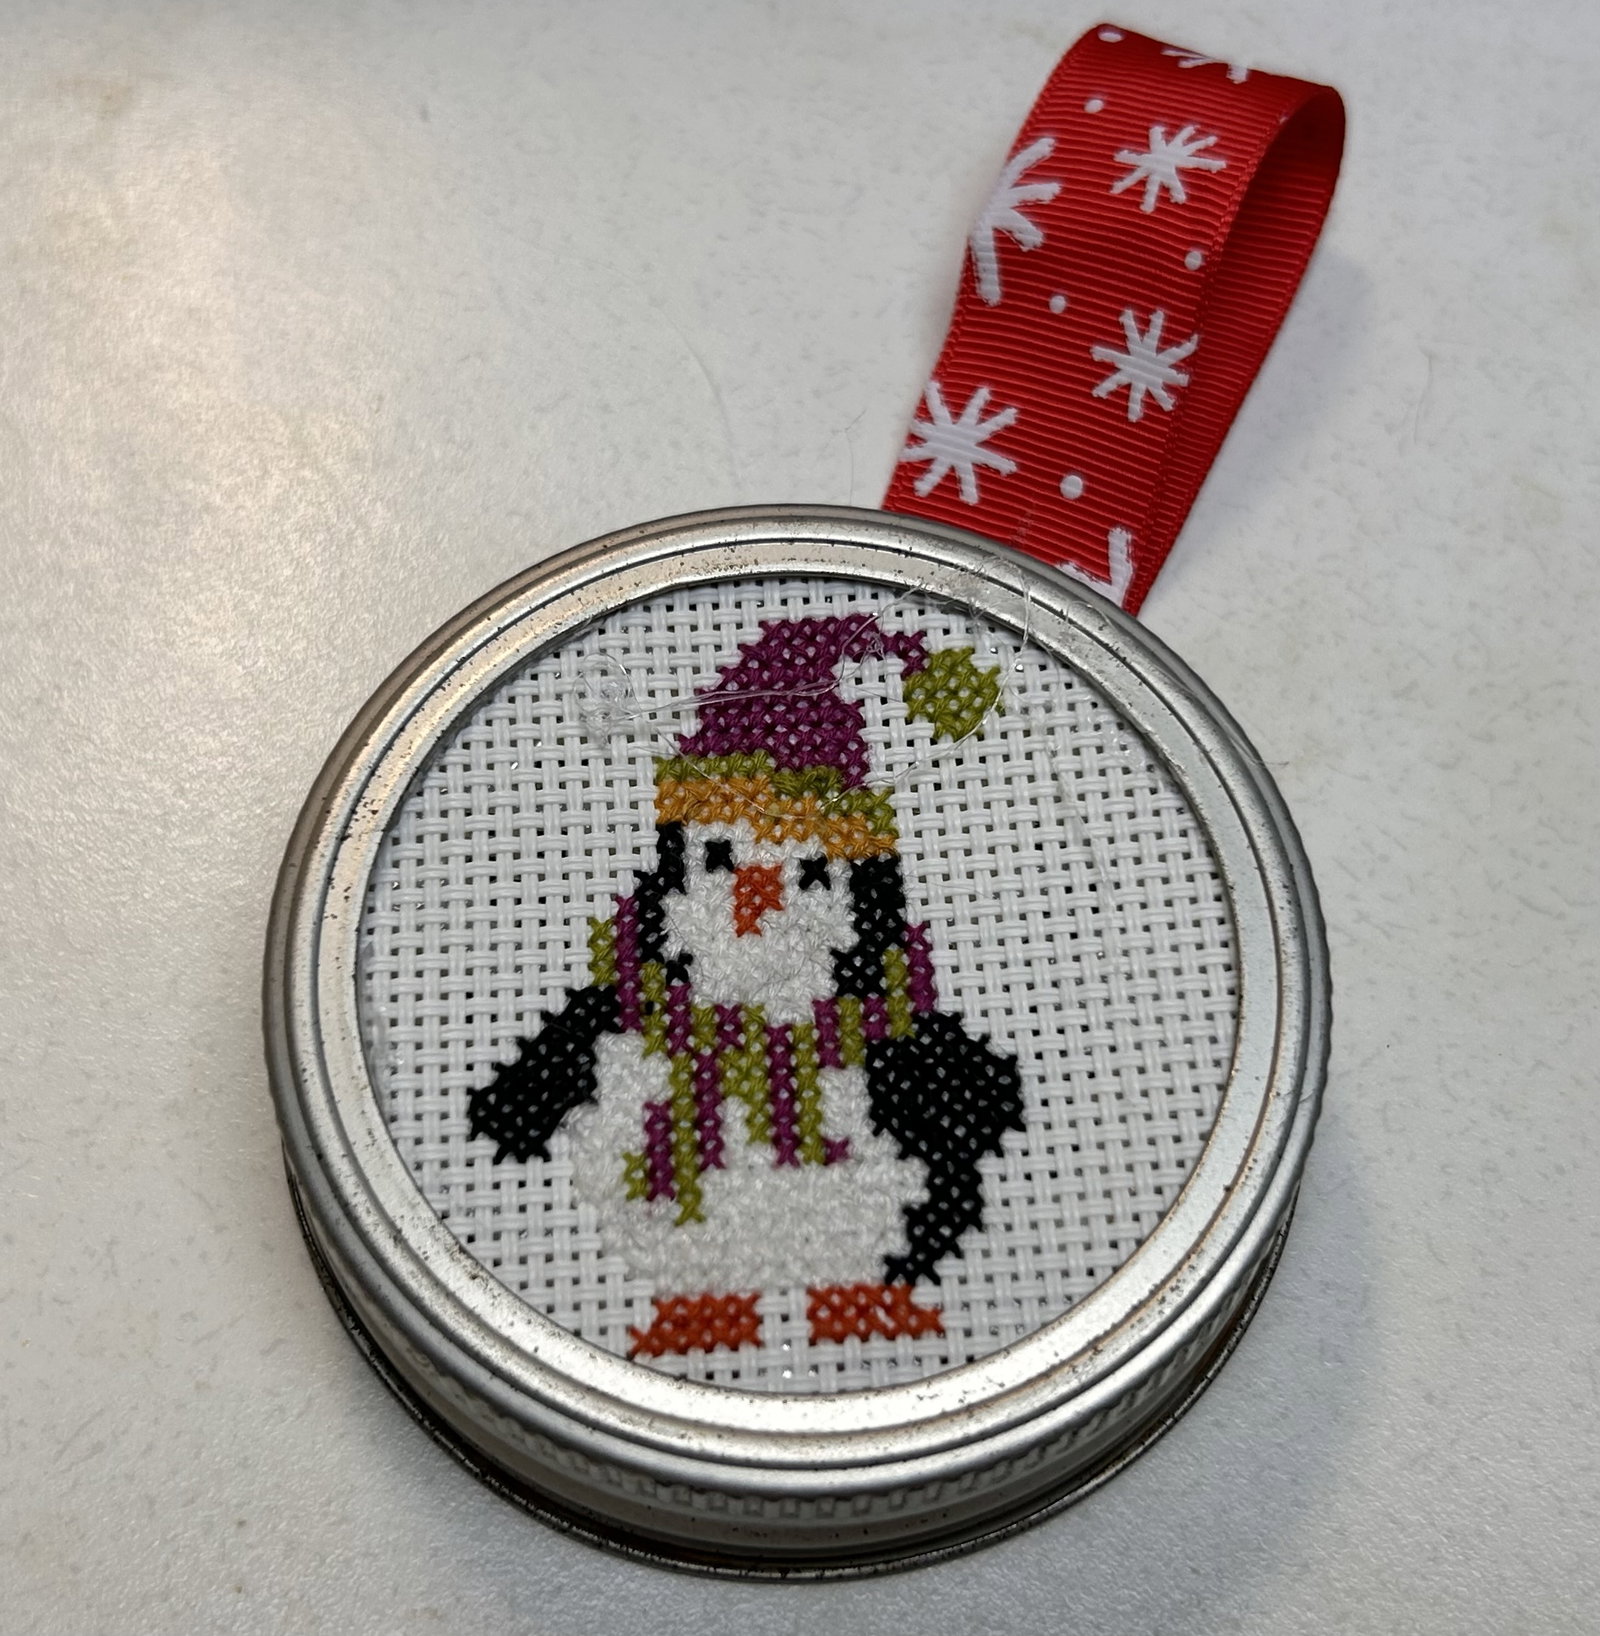
Start by selecting your pattern. Epatches has a wonderful selection of cross-stitch patterns, as well as blank cross-stitch patches. If you’re extra talented, you can design your own pattern! Next, print out the pattern you want so you can follow it as you work. Use the pattern to select the appropriate embroidery floss. You can change up the colours to your pattern; no one says you have to follow them exactly; I changed the colours of the scarf on my penguin cross-stitch because I liked a green and red scarf better.
Using your pattern and gathered floss, separate the floss into the appropriate number of strands. This can be a bit challenging as it tangles easily. We suggest holding the strands you want in one hand, putting the strands you’re pulling from between your teeth, and using your remaining hand to hold the group of all the strands. Pull it apart slowly, making sure to readjust the strands between your teeth carefully when it gets too long. Just watch out for any feline helpers; cats love to play with the floss as you separate it!
Once your strands are separated, thread your needle and start at the center of your cross stitch. Follow the pattern in front of you to slowly make your design. Make sure to find a comfortable spot to work before starting, as this project will take a while to complete.
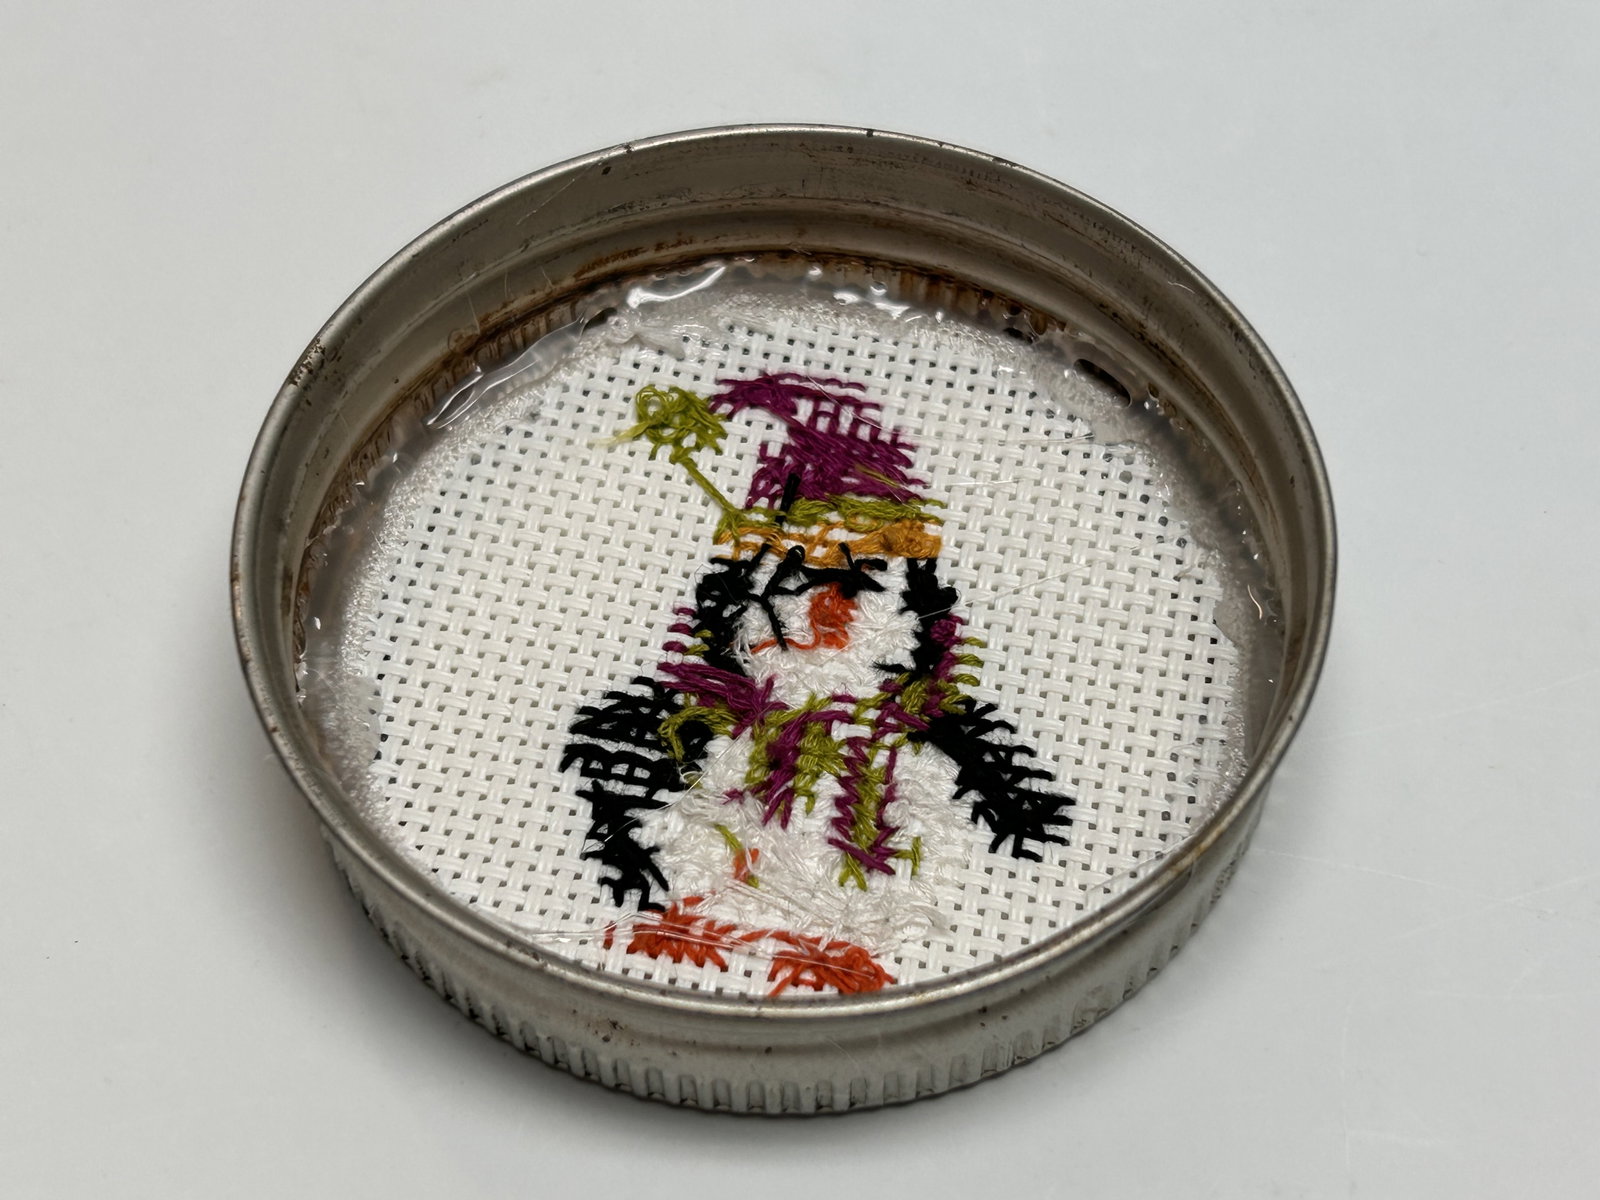
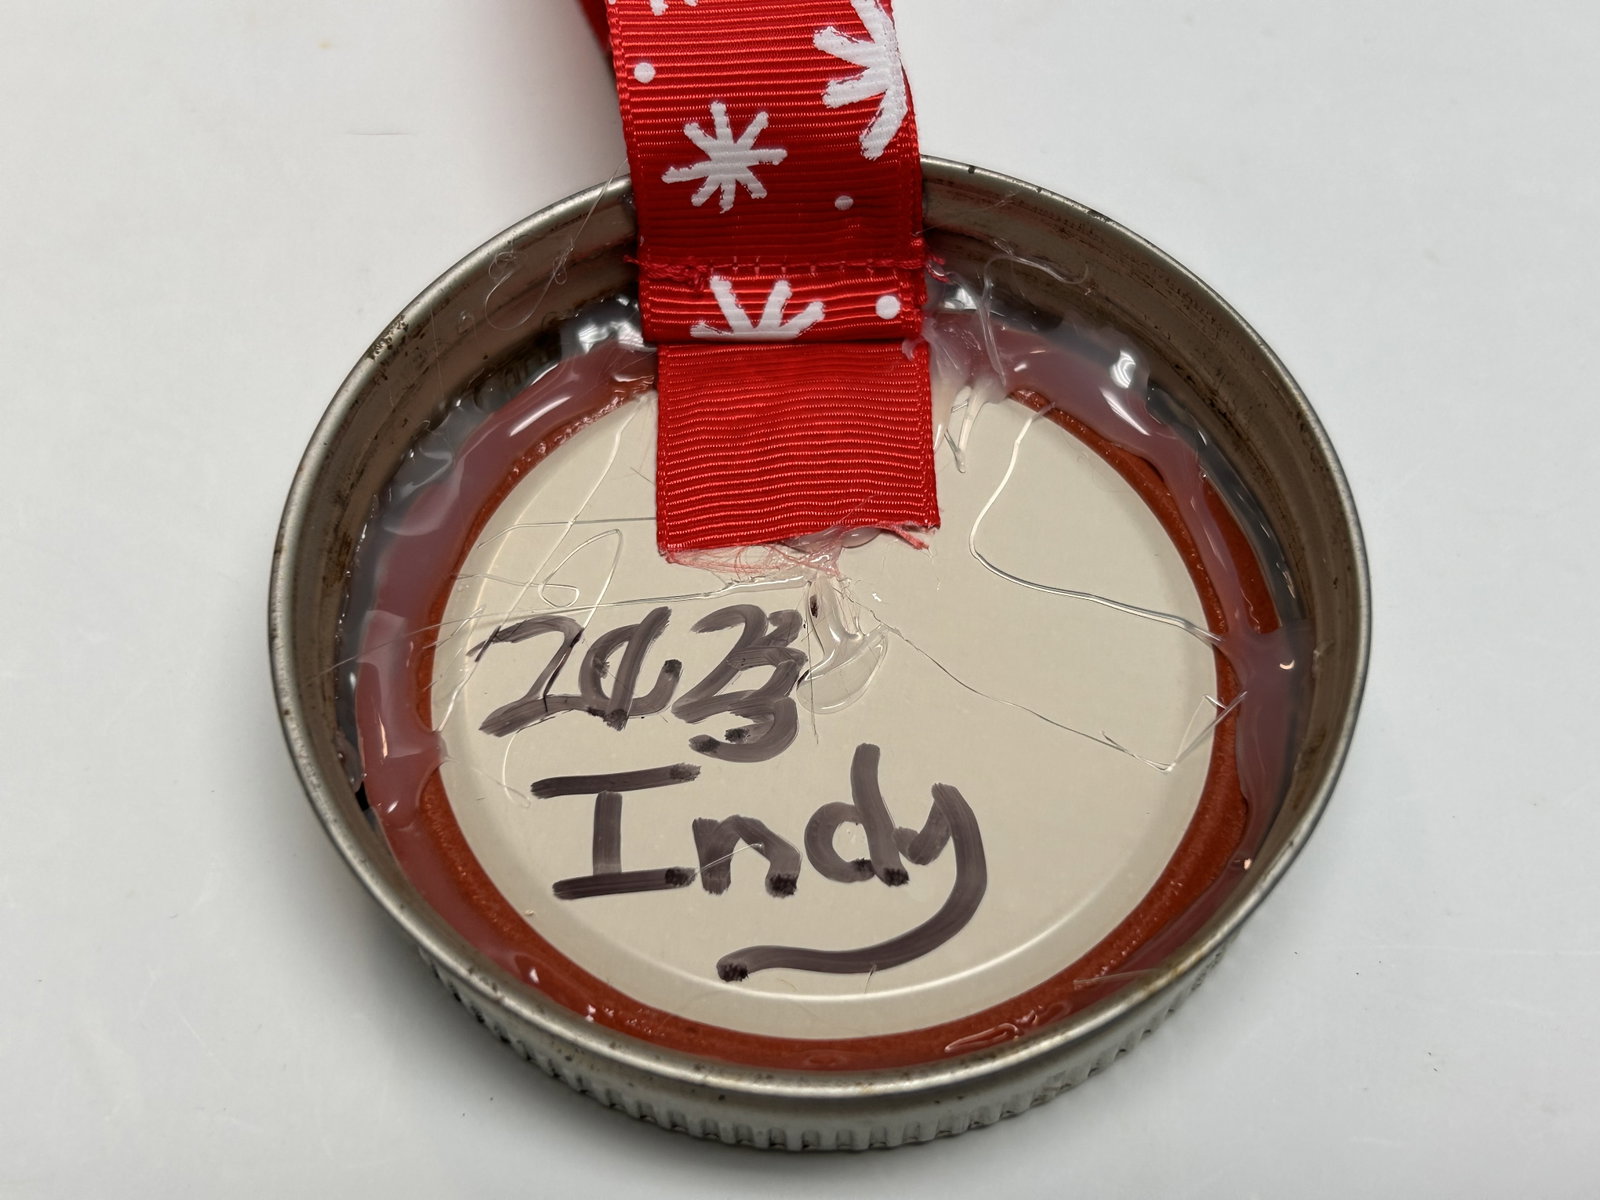
Once you have finished the pattern, find your mason jar lid and ring, as well as your glue gun, and a clean work area. If you’re a child, find an adult to supervise this step, as glue guns can get incredibly hot – burning yourself with one is not fun. Glue around the inside of the ring, then place the patch backside up in the center. We glued the ring in sections, slowly lifting the patch and gluing a quarter of the strip before pushing the patch into place. Be careful to mind your fingers around the glue gun when doing this!
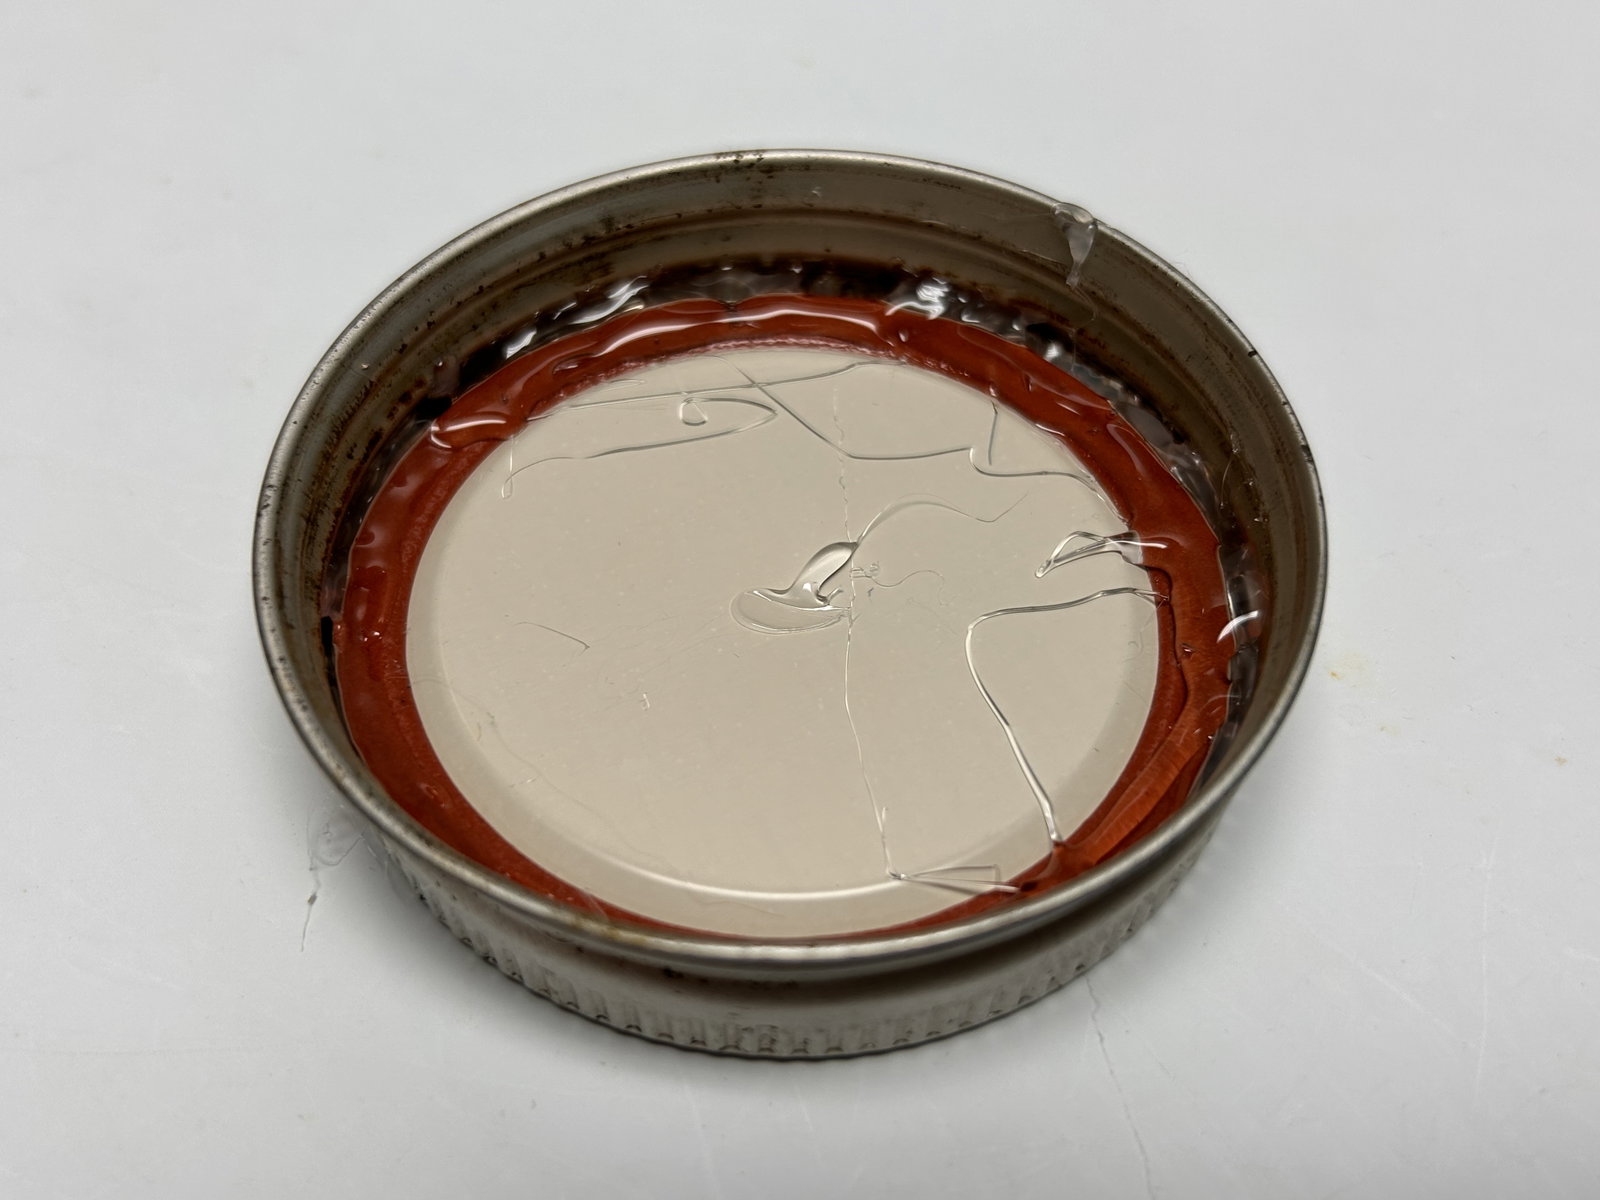
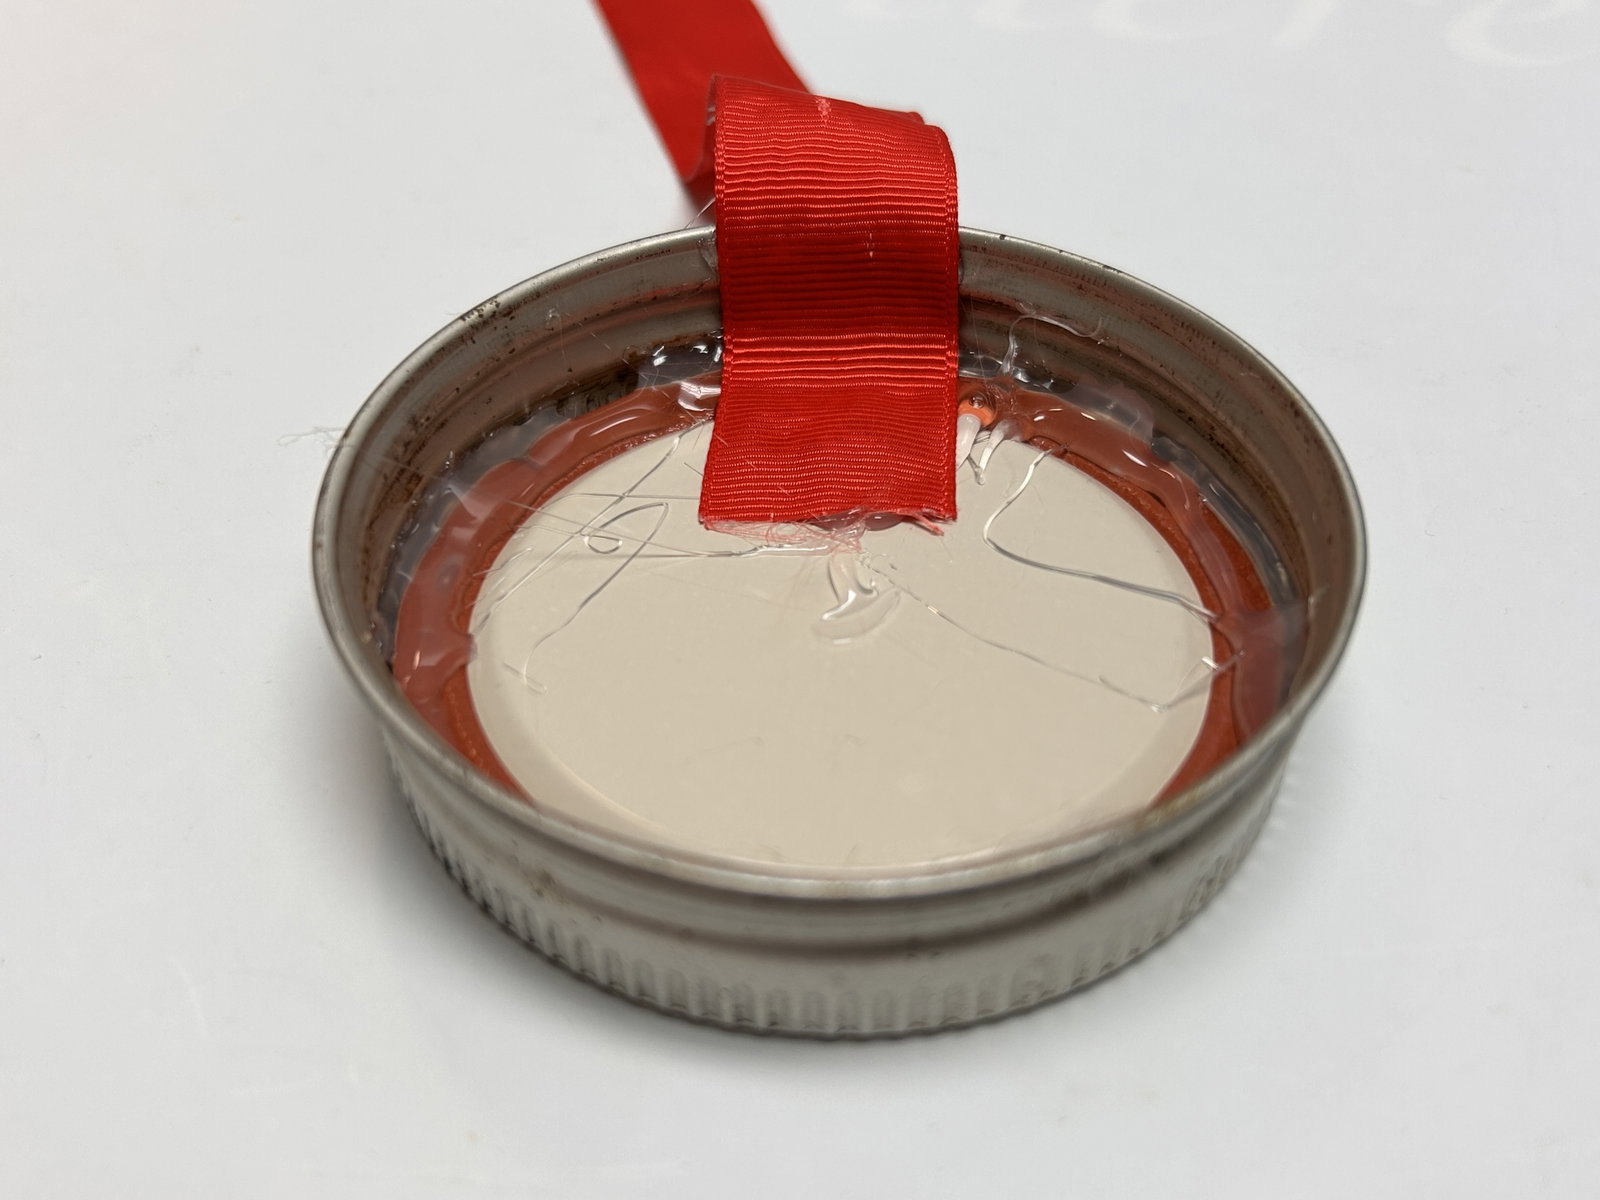
After the patch is on the ring, take the lid and carefully glue it to the back of the patch as this will protect it. Then, take your ribbon, fold it over itself and find the length that works for you to hang the ornament from. Cut the ribbon at this length. Next, glue down one side of the ribbon to the lid, then up the side of the ring. Once it’s dry, fold the ribbon on itself and glue it down that side carefully. Make sure to line your ribbon up correctly! When making this craft, I unfortunately glued the ribbon slightly off-center. If you mess up, it’s not a big deal – imperfections make the ornament feel more handmade, giving it an organic nature.
Now your ornament is ready for the tree!
Congratulations on having your own handmade ornament. If you fell in love with cross-stitch like I did, we have plenty of other patterns you can turn into ornaments or decorate your clothing with. If you’re looking for ways to customize your clothing with your embroidered patches, check out our Personalize With Patches blog article.
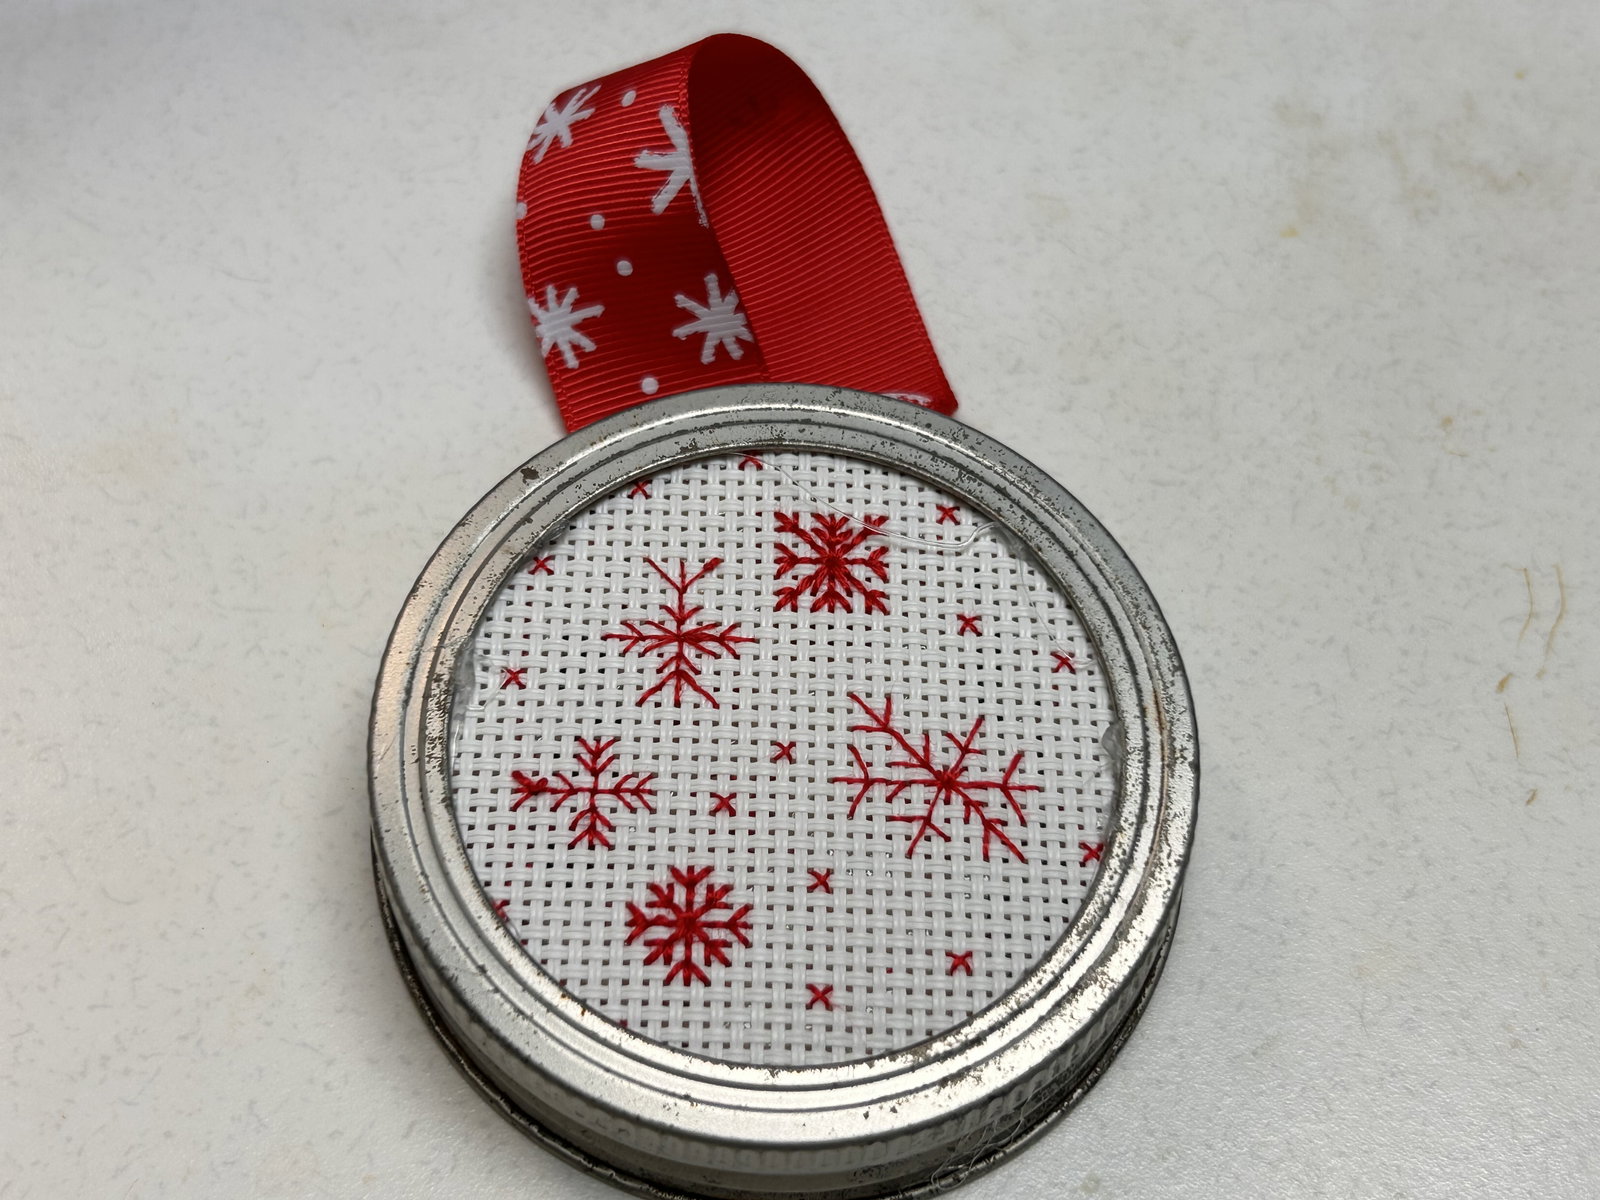
Experience with ideas and make your own design. For this ornament, I used the snowflakes found in the background of our Let It Snow pattern.
You could also use the snowflakes in our Penguin cross-stitch pattern.
Use promo code BLANKS10 to get 10% off blank patches at check out!
Indy Scott is our content writer! They are nonbinary (they/he) and love to customize their clothing with patches.
Subtotal 0